
Have you ever wondered why your hairbrush is constantly collecting lint, dust, and debris? It can be frustrating to clean your brush, only to find it covered in an unsightly layer of grey fuzz again. But what causes this lint buildup in the first place?
The truth is, the residue that accumulates in your hairbrush is not actually lint. Instead, it is a combination of dead skin cells, sebum, old hair, and residues from styling or hair care products. Over time, this mixture creates a breeding ground for bacteria, making your hairbrush more and more contaminated.
A study conducted by the University of Arizona revealed that hairbrushes can harbor an alarming number of bacteria colonies—up to 3,400 per square inch! This bacterial buildup can lead to unpleasant scalp odor, skin irritations, and even oily hair.
To minimize the buildup in your hairbrush and promote a healthier scalp, it is recommended to use clean beauty products that are lightweight and do not leave residue on your hair tools.
Regular cleaning of your hairbrush is also crucial to maintain its effectiveness and prevent bacterial growth. In the next sections, we will explore the importance of cleaning your hairbrush, different methods to clean it, and when it’s time to replace it.
The Importance of Cleaning Your Hairbrush
Regularly cleaning your hairbrush is crucial for maintaining its effectiveness and preventing bacterial growth. Neglecting proper hairbrush cleaning can lead to a buildup of debris, oils, and bacteria, which can negatively impact your hair and scalp health. To ensure your hairbrush stays clean and performs optimally, follow these recommended cleaning methods.
1. Quick Sanitize Method
The Quick Sanitize method is ideal for individuals with oily hair and can be done daily to minimize buildup on the brush and scalp. This method involves the following steps:
- Remove any loose hair from the brush by using your fingers or a comb.
- Sanitize the brush by spraying or wiping it with a hairbrush sanitizer. Ensure that all bristles, including the base of the brush, are treated.
- Allow the brush to dry completely before using it again.
2. Deep Clean Method
The Deep Clean method is suitable for all hair types and should be performed monthly to thoroughly eliminate bacteria and promote scalp health. Here’s how you can deep clean your hairbrush:
- Start by removing the hair from the brush using your fingers or a comb. For round brushes, carefully cut away the strands of hair using scissors.
- Fill a bowl with warm water and add a few drops of natural shampoo.
- Dip the brush head into the soapy water, swirling it around to coat the bristles. Use a clean toothbrush with a few drops of shampoo to scrub the bristles and surface of the brush.
- Rinse the brush thoroughly with clean water to remove any residue.
- Shake off excess water and towel-dry the brush.
- Sanitize the brush with a hairbrush sanitizer.
- Allow the brush to dry completely before using it again.
Regularly cleaning your hairbrush using these methods will help maintain its cleanliness, prevent bacterial growth, and ensure optimal hair and scalp hygiene. Remember to remove trapped hair and sanitize the brush regularly to keep it functioning effectively.
Cleaning Hairbrushes Without Special Products
If you find yourself without specialized hairbrush cleaning products, don’t worry! You can still effectively clean your hairbrush using simple household items. Here’s how:
- Start by removing the hair from the brush using your fingers or a comb.
- For a round brush, carefully loosen and cut away the strands of hair using scissors.
- Next, fill a bowl with warm water and add a small amount of shampoo.
- Dip the brush head into the soapy water, swirl it around to coat the bristles.
- Use a clean toothbrush with a few drops of shampoo to clean the bristles and the surface of the brush.
- Rinse the brush with clean water to remove any leftover shampoo.
- Shake off excess water and sanitize the brush with your preferred sanitizer.
- Finally, place the brush with the bristles facing down on a towel to dry fully before using it again.
Cleaning your hairbrush regularly using this method will help remove debris, product buildup, and oils from the bristles, ensuring a clean and hygienic grooming tool.
When to Replace Your Hairbrush
While regular cleaning and maintenance can prolong the lifespan of your hairbrush, there may come a time when it needs to be replaced. It’s important to keep an eye out for signs that indicate it’s time for a new hairbrush.
Signs to Replace Your Hairbrush
- Worn Down Bristles: If you notice that the bristles on your hairbrush have become frayed, bent, or are no longer smooth, it’s a clear indication that it’s time for a new brush. Worn down bristles can not only be less effective in detangling and styling your hair, but they can also cause damage and breakage.
- Unable to Clean Thoroughly: Despite your best efforts, if you find that your hairbrush is no longer getting clean even after regular cleaning, it’s a sign that it has reached the end of its lifespan. Built-up debris, product residue, and oils can accumulate over time and become trapped in the bristles, making it difficult to clean thoroughly.
- More Than Five Years Old: Just like any other tool, hairbrushes also have a lifespan. If you’ve had your current brush for more than five years, it’s time to consider purchasing a new one. Technology in hairbrushes evolves, and newer brushes may offer better features and benefits for your hair.
Replacing your hairbrush can have a significant impact on the health and appearance of your hair. A fresh brush with intact bristles will provide better styling results and minimize hair damage. Additionally, a new hairbrush can make your hair look and feel healthier, giving you the confidence to rock any hairstyle.
When purchasing a new hairbrush, consider your hair type, styling preferences, and any specific concerns you may have. Whether you need a brush for detangling, smoothing, or adding volume, there are various options available to cater to your needs.
Remember, investing in a new hairbrush is an investment in your hair’s health and overall appearance.
Comparison of Hairbrush Replacement Signs
| Signs to Replace Your Hairbrush | Description |
|---|---|
| Worn Down Bristles | The bristles on the hairbrush are frayed, bent, or no longer smooth. |
| Unable to Clean Thoroughly | The hairbrush is not getting clean even after regular cleaning, with debris and product residue accumulating. |
| More Than Five Years Old | The hairbrush has been used for more than five years. |
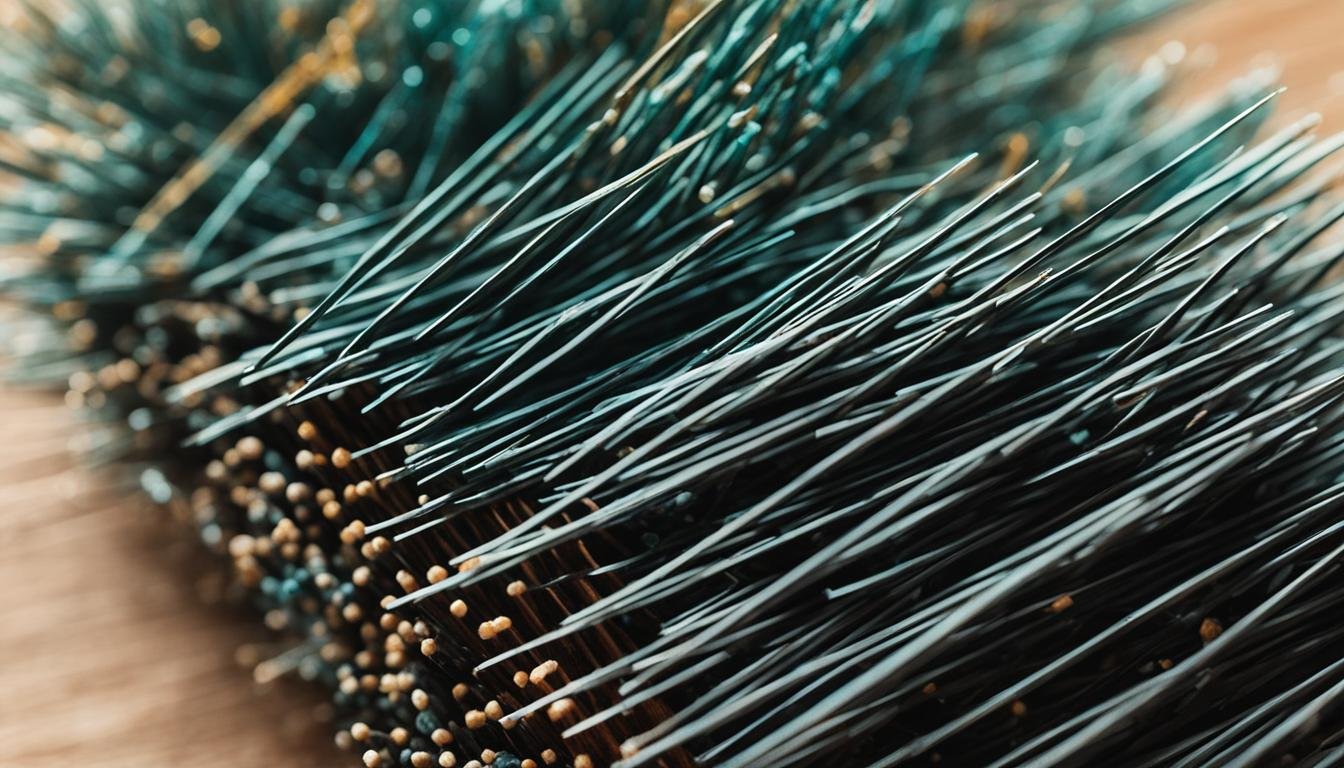
Understanding the Hairbrush Lint
When you find fuzz or lint in your hairbrush, it’s important to understand what it is and why it’s there. The lint that accumulates in a hairbrush is a combination of various substances, including dust, fibers, oils, discarded dry skin cells, and residues from styling or hair care products.
If this lint is not regularly removed, it can create an ideal breeding ground for bacteria. Along with the lint from your hair and scalp, fibers from clothing can also contribute to the buildup in your hairbrush.
To maintain optimal hair hygiene and prevent bacterial growth, it is crucial to regularly clean your hairbrush. By removing the accumulated lint, you can ensure that your hairbrush remains clean and free from potential bacteria.